I would like to announce that after a brutal 4 hour exam, I passed the PMP exam and received my PMP certification!! :-) I can now get back to working on the puzzle...
Actually, I have to admit that while studying Friday night after work, all the blue pieces for the lost city of Atlanta were just calling out to me. So... I decided to postpone studying until the weekend, and spent the night (and part of the next morning) working on that section of the puzzle. I worked on the water parts for 11 hrs and am proud to say that even though I did not get much sleep, I was able to complete all of the underwater sections for the lost city AND the sharks, dolphins, fish, and coral reefs!!! :-)
I believe the lost city of Atlantis will be the most difficult part of the puzzle. There were over 1500 blue pieces that were not very distinguishable from one another. I came close to giving up and going back to studying (and probably should have), but I wanted to get it done. I figured that if I could get through that part, the rest would be a breeze! Here are a few pictures...
Total hrs: 29
This weekend, I will try to finish the sailboats, and do the rocks, birds, top of the water, swordfish, and black part of the solar system. I did have to go through my very large stack of pieces a couple of times to find pieces that I missed the first time around (NOT fun!), but I was able to fill in most of the gaps and I'm VERY happy with the progress!
Due to my work schedule and other things I have going on, either Saturday or Sunday is going to be my designated "puzzle day". I had to move some of the panels into my bedroom because there just wasn't enough space in my project room.
I have a PMP certification test coming up that I have to study for, so the next 10 days are out. However, I still think I can reach my rather ambitious goal - to have the entire puzzle done in 8 weeks. That's 8 Saturdays of working about 8-10 hrs/day on it, totaling 64-80 for the entire puzzle. I wonder if that's possible... Worst case scenario I'm guessing would be 4-6 months until completion. Either way, I just hope to have hair by the time this monstrosity is complete!! :-)
I am working at ChildNet in Fort Lauderdale, FL. When this puzzle is complete, I will order a custom frame for it, glue the 12 sections together, put them in my car and drive them over to work, glue the big sections together so it's one large puzzle, and then attach the frame. Work has agreed to display it as wall art on the hallway wall.
Okay, so here are some pictures of day 2. I put in about 10 hrs and am starting to see progress!!! :-)
I started 2 of the ocean sections.
And here are the sail boats getting much further along! The size is misleading. The sailboats are 1-2 ft tall.
Then I worked on the solar system a little bit, and had to move part of the sailboats onto another panel.
Total hrs: 18
If you take a look at the final picture, you'll have a better idea as to the progress. Still have a LONG way to go, but it's starting to look like something. :-)
Hello all!!! It has been a couple of months since the last project, but I finally have Internet access in my new place. I hope you enjoy this one!!
I was looking for a new challenge, and went back to one of my hobbies from childhood - jigsaw puzzles. :-) Before tackling the "big project" (which you will read about in future posts), I wanted to get some practice in... I enjoy collecting little seashells, and since I have a "FL" theme in my bathroom, why not carry that on to my bedroom? A theme that would remind me of my old place in Jupiter... When I went with Bob to climb up the Jupiter lighthouse, I saw LOTS of puzzles w/the ocean theme in the gift shop! It was a sign... I picked up 6 1000-pc puzzles and went to work.
I didn't have a table to work on, so I used the rotary mat from my baby quilt project, and just did the puzzles on my bed. The mat is about the size of a 1000-pc puzzle (as you'll be able to see), so there wasn't much room to lay out the pieces. Instead, I just picked pieces from the box - more of a challenge that way. :-) These puzzles still were not difficult, but they took a few days to do and were a nice warm up for what is to come...
The first puzzle was called "Birds of our Shores".
Then I did a puzzle called "Shells of our Shores". Because I do not yet have puzzle glue, once the puzzles were done, I had to break them up into pieces and put them back in the boxes. I did not take a picture of this puzzle when it was together - just after I had already put it back into the box. Once I hang the pictures on the wall in my room, you'll get to see all of the puzzles in their final form. :-)
The third puzzle I did was called Endangered Species. Not really a shore theme, but it was the same size as the others (and I was on a role), so I just had to get it... In the first picture, I'm hard at work. :-)
In the second picture, I finished the puzzle.
In the third, I'm breaking it into pieces and putting it back in the box. This looked like a challenging puzzle, but actually it only took 4-5 hrs to put together.
The 4th puzzle was called "The Civil War". This one was a little bit more challenging than I would have thought.
And there was "Sailing Ships and Seafaring". This was the most challenging of these 6 puzzles. It took about 8 hrs to put together!!! I think that's because all the sailboats looked about the same in the pieces. But this gets back on theme and will look great on my bedroom wall!
I started to put this one back in its box without taking a picture of it completed. Oops. :-)
And last but not least was the "American Maritime History", which also nicely fit in with the FL water theme!
I did not take a picture of this one finished either. I think that's because I was getting ready to move and my mind was not on puzzles anymore - it was on starting my new job and moving into my own place!!!! :-)
Now that I'm all warmed up with "practice puzzles", it's time for something grand! Stay tuned...
Once the practice puzzles were done, I went online in the hopes of finding a large puzzle - something in the neighborhood of 5,000 - 10,000 pieces. A puzzle that would look good on my new apartment wall. While browsing, I noticed a 24,000 piece puzzle!!! Hmmm... That got me thinking.
This puzzle is called "Life" and is the largest jigsaw puzzle ever created. The runner up (which is still a very large puzzle) is "only" 18,000 pieces. Without any concept as to how small the pieces would be or how large the puzzle actually was, I decided if I was going to do a puzzle, why not go for the world's largest? It only makes sense. :-)
So I few weeks ago when I moved, I ordered the puzzle. My apartment has a large room that I call "Piccola's Project room". (Appropriate, don't you think?) The puzzle box and all the pieces arrived about a week later. I felt like it was my birthday!! It showed up at Bob's place (which is where I used to stay), and I was VERY excited to see the box waiting for me when I drove up to pick up my things.
The puzzle weighed just about 30 lbs, and the box was pretty big as well! I had to turn it sideways to get it to fit through the front door.
I have a carpeted room and no furniture to put the pieces on. Therefore, I went to Home Depot and bought 4 panels (2 1/2' x 5 ').
I also had the rotary mat that I could use from the baby quilt project. The nice thing about these boards is that they are flat, smooth, thin/lightweight, and can easily be moved around. The bad thing is that I will have to be bent over doing the puzzle, so I will only be able to do it a little bit at a time.
The puzzle came in 4 bags.
I opened the bags and dumped the contents into the big box so all of the pieces were in one place. Then, because I could not possibly lay out all of the pieces onto my panels, I filtered through the pieces to pick what I wanted to work with. The puzzle came with a picture of what it will look like when put together. (Double click on the image for a larger image.)
I think you will agree, it looks pretty wild! Lots of color, and just about everything is in it: the solar system, birds and hot air balloons in the sky, animals on land, colorful sailboats, sharks and dolphins just under the water, fish and other sea creatures further down, the lost city of Atlantis, and coral reefs.
To figure out what pieces I'd need, and to make sure I could do it in reasonably small segments, I divided the image into 12 sections of about 2000 pieces each. I anticipate that there will be about 200-500 pieces that I'm unable to find at the first swipe for each section, but I'll be able to fill those in as I go. Given the dimensions of each 1/12 section, one panel per section would work beautifully!!! :-) So... I took another trip to Home Depot to buy 8 more panels.
Here is how I divided it up: (1) large hot air balloons, (2) small hot air balloons, (3) birds, (4) solar system, (5) first 4 sailboats, rocks, and top of water, (6) second set of sailboats and water, (7) first set of animals, (8) second set of animals, (9) dolphins and smaller fish, (10) city of Atlantis, (11) coral reefs and fish, and (12) bright fish that look like Nemo.
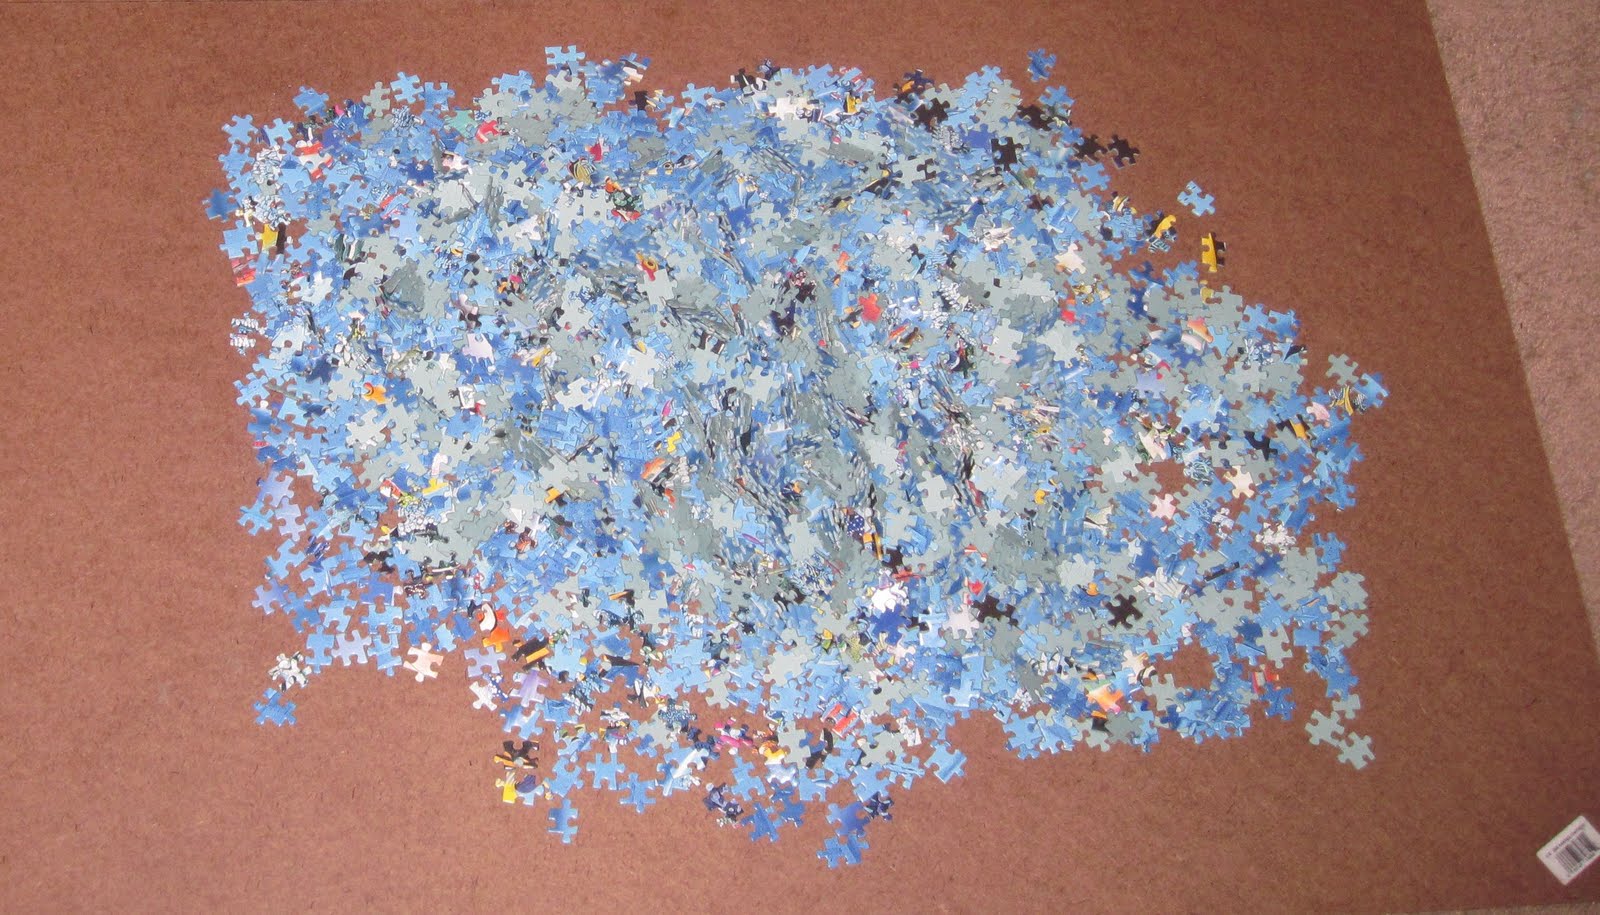
Today really consisted of little more than weeding through pieces and getting used to the colors. It is difficult to use the picture that came with the box, because it is so small compared to the actual size of the puzzle. But, it will be exciting every time I fit a piece together!!! I did put some of the pieces together as I pulled them from the box. The first sections I'll be working on are the birds, solar system, all sailboats, rocks, and the top of the water.
Here are a few pictures:
I like this picture (below), because it reminds me of making piles of leaves to jump in during autumn in Wisconsin. :-)
You'll see some of the same picture on 2 separate panels. For instance, some of the solar system is on one panel and some is on another. That is because I divided the image into the 12 sections. Once done, the entire solar system will not fit on one panel. The same is true for the rest. I used the picture that came in the box to know how much (horizontally) to put on each of the 12 panels - it was nicely folded in 4 equal parts. (If you look at the picture next to the sailboat pieces I put together, you can see that it's only showing 1/4 the entire puzzle.) You will also notice that this is where I divided the puzzle... ;-)
This past weekend, I went to CA to hand deliver the quilt to my buddy. He took a few pictures that I thought I would throw in so you can see what the quilt looks like with an adorable little baby in it! :-)
I stopped by The Quilt Shoppe to show the quilt to all the ladies and to buy some more thread. The ladies all LOVED the quilt, which completely made my day! :-) I spoke with Sally, a friend and experienced quilter, and she suggested using invisible/clear thread and sewing it in the ditch for the quilting part so it's not noticeable. This is a great idea, however I was concerned, because I read several places that I should use cotton or embroidery thread to keep it from cutting through the cotton fabric with extensive use and washes. With this suggestion in mind, options were discussed with the ladies at the quilt store as well, and they suggested either using ties (which I didn't think would look too good on this quilt) or making small stitches in the ditch, using the same color as the fabric - or clear thread. The difficulty is that there are 2 sides to the quilt, and the patterns are different on each, so making creative quilting lines around the colored strips on the play side, would mean that the black GT photo on the other side, would have strange lines running through it and could ruin the photo image.
I decided to get a few colors that matched the charcoal (faded black), light blues, and browns on the black GT photo, and then picked up red, green, and blue for the background and to match the strips. I will be making a number of 1" lines using straight stitches in the seams whenever I can, with matching thread, so that the layers and batting are securely held together all over the quilt, but it is not noticeable unless you look closely.
I took the pinned side, and rearranged the pins to where the 1" stitching would be.
Then, I swapped the white bobbin for blue thread, and put blue thread in the top as well.
The first one I did, I put right up on the edge.
You can see it up close if you look for it, but even a foot away, it's hard to see.
I found that the opposite side was not the same, and could be off by as much as 1/2"! Therefore, I had to be careful not to get any on the red of the other side. I did this once, requiring me to cut off that thread and sew it about 1/4" away from the seam. The color thread matched quite well with the background, so even though it was not on a seam, it was still very difficult to see.
Once the blue top and blue bottom parts were done, I kept the bobbin blue and put the white bobbin from earlier at the top to use as top thread. Then I sewed a 1" strip of white. The bottom should still be blue.
The top (white) part looked okay.
The white thread pulled through to the opposite side of the quilt, and that did NOT look good!! :-(
Good ol' seam ripper... I removed that and decided to use the lighter blue thread I had as top thread, and try to move the areas that needed to be sewn to the blue strips.
Here is a close up of one of the blue strips after changing threads and sewing.
Because the black GT took up a lot of space and was curvy, this didn't work in all places. There was one place in the middle of the quilt, where I switched to the light blue to match part of the black GT fabric, and because it was still blue, the 2 shades looked okay on both sides of the quilt.
When I finished sewing, I ironed both sides of the quilt and got rid of the fuzzes. One thing that I found, was that the fabric couldn't be laid flat due to the embroidery.
When I finished sewing, I took these pictures. The 1" sewn strips are about 8" apart throughout the quilt, but you can see that when you hold it back - even just 1-2 feet away - you cannot see the stitching at all.
Once that was done, I ironed both sides of the quilt, got rid of the fuzzes, and folded it up. It's now ready to take a trip to CA and be introduced to the little one. :-)
For those of you who stuck with me until the end, thanks for reading this blog! I’m sad to see the quilt go, but happy it is going to such a special little guy (with a great Daddy). Stay tuned for the next project. :-)